


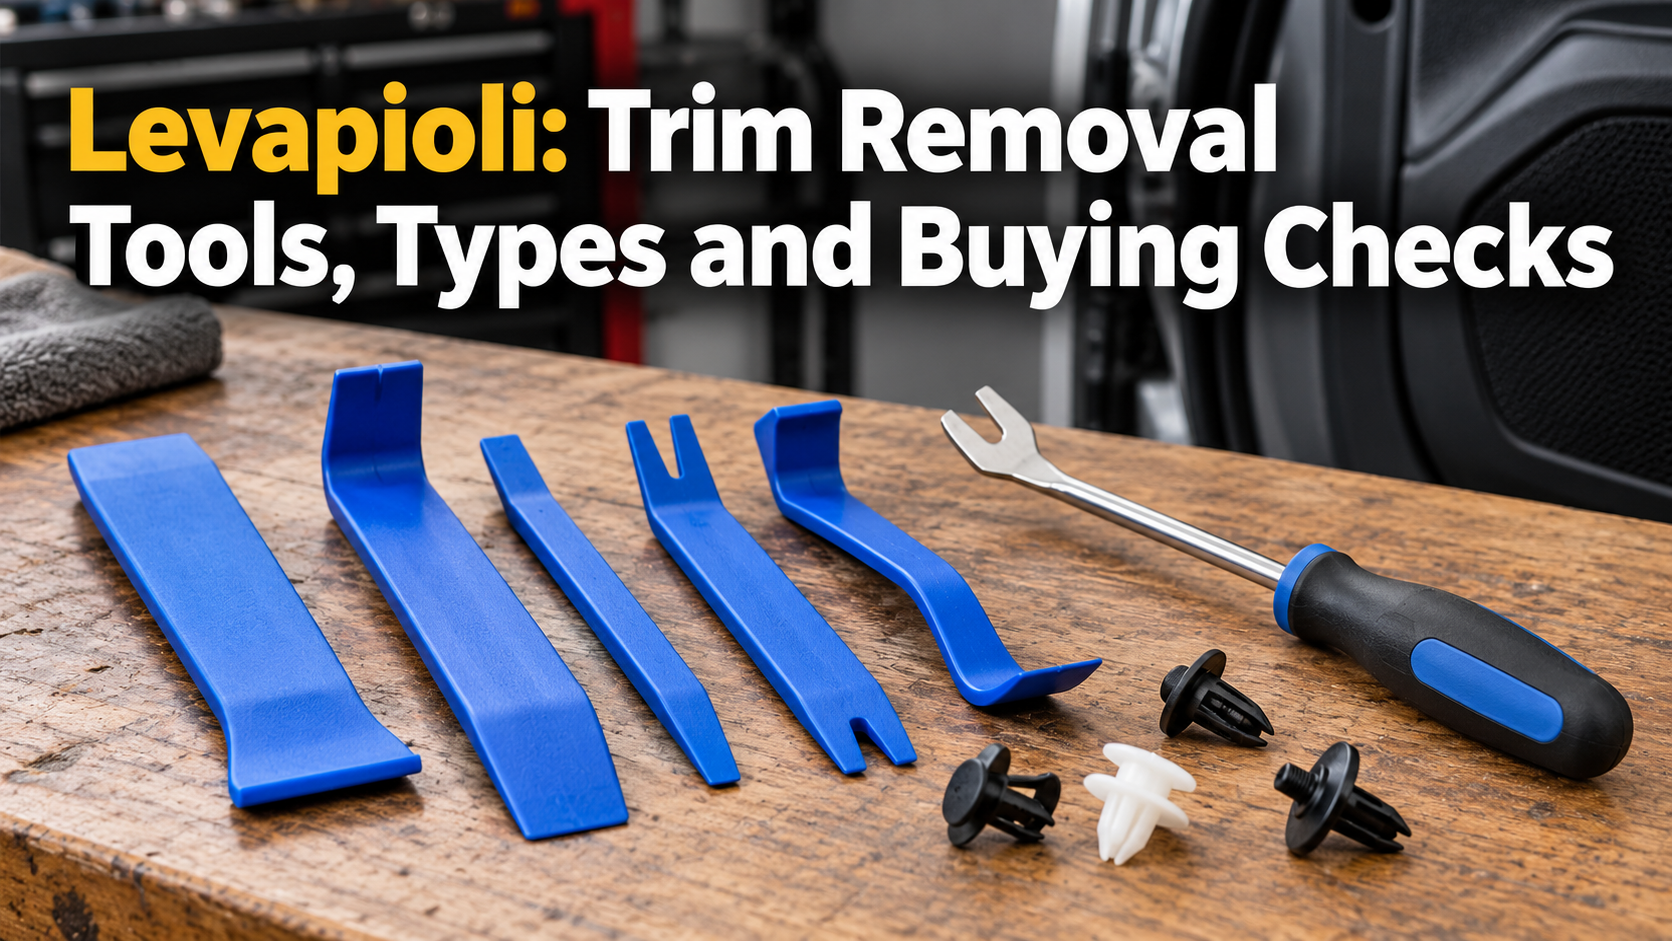
Levapioli is an Italian workshop term used for tools that remove trim pins and fastening clips. Beta Tools uses the name in its vehicle bodywork range, including nylon removal sets and stainless-steel tools. It is not evidence of a special recipe, regional dish or food tradition.
If you encountered the word while buying tools, the useful question is which fastener and surrounding material you need to work on. A product description alone cannot tell you whether a particular fork, blade or set fits your vehicle. Start with the part number, the tool profile and the repair procedure before comparing price.
What Does Levapioli Mean in a Tool Catalogue?
The clearest evidence comes from the manufacturer. Beta lists the 1479N/S5 as a five-piece nylon levapioli kit. Its English bodywork catalogue describes the corresponding category as trim pin removers. That establishes a practical automotive meaning without needing to invent an origin story.
Catalogue language is not always perfectly consistent between countries. A translated heading may sound broader than the Italian description, while a product photograph makes the intended shape easier to understand. When two pages appear to disagree, matching the manufacturer’s reference number is more reliable than deciding from the English headline alone.
The word therefore identifies a family of tools rather than one universal mechanism. Some tools are slim levers for reaching behind a trim edge. Others have a forked end intended to straddle a pin. A set can contain several profiles because the working angle and available space change from one fastening position to another.
Verified Beta Models and Their Differences
The manufacturer’s bodywork product range distinguishes nylon trim pin removers, metal trim pin removers and other tools for plastics and seals. These are separate choices, not interchangeable descriptions of one item. The material and shape should both appear in a useful product comparison.
For a concrete example, the official 1479U/13 data sheet identifies a stainless-steel-blade levapioli, with a 220 mm overall dimension, a 95 mm dimension shown beside the working section, and a listed mass of 100 g. Those figures belong to that reference. They should not be applied to every removal tool carrying a similar name.
The 1479N/S5 designation identifies a nylon set, while the 1479U/13 reference identifies a different construction. Buying one because a search result mentions the other can leave you with the wrong profile. Check the actual included pieces, especially when a retailer illustrates a whole family but sells only one item.
Choosing Nylon or Metal
Consider the contact surface first. Painted trim, textured plastic and a concealed metal bracket present different problems. A tool that reaches a clip comfortably may still press against a visible finish. Protective material can reduce direct contact, but it cannot compensate for using the wrong leverage point.
Nylon tools are commonly considered when the surrounding surface is delicate. Metal tools can offer a thinner or more rigid working edge. Neither description is a promise of damage-free removal. Dirt trapped between a tool and a panel, excessive force or an unsuitable edge can still mark a surface.
Do not choose by material alone. Look at the width of the fork, the angle of the working end and the clearance behind the component. If the tool cannot sit close to the fastener, pulling from a distant edge may bend the panel instead of releasing the clip. A wider kit is useful only when its profiles match the work you actually do.
Identify the Fastener Before Applying Force
A clip that resembles a simple push fitting may contain a centre pin, screw or separate locking feature. Start by inspecting the visible head and consulting the vehicle’s service information. The correct sequence can involve releasing a centre section before removing the outer body. Treating every fitting as a pull-out pin is an avoidable mistake.
Hidden screws also matter. If a panel moves at several points but remains fixed at one corner, stop and locate the remaining attachment. More force is not a diagnosis. Compare the resistance with the repair diagram and check whether a cover conceals another screw or whether the panel must slide before it lifts.
Keep removed fasteners grouped by location. Two clips that look similar from above can differ in length or retaining shape. A simple labelled tray or photograph of the removal sequence helps you return each part to the correct position. Replace damaged fittings with the specified type rather than relying on a visibly weakened clip.
A Sensible Removal Workflow
Prepare enough light and working space to see the attachment. Clean loose grit from the immediate contact area and inspect the tool for a damaged edge. Position the tool according to the service procedure and support the component so it does not drop when the final fastener releases.
Use controlled movement and reassess when the part does not release as expected. The aim is to act on the retaining feature, not to flex the largest available area of trim. If the panel starts whitening, cracking or distorting, continuing the same motion is unlikely to improve the result. Stop, check the fixing arrangement and change the approach only when the cause is understood.
Work near airbags, electrical connectors and other safety-related components requires the relevant manufacturer procedure. A generic trim-removal guide cannot provide the isolation sequence for every vehicle. If you cannot identify the component or understand the required precautions, use a suitably qualified repairer rather than experimenting around it.
What to Check Before Ordering Online
A useful listing should identify the manufacturer, exact reference, material and contents. Ask whether a photograph represents the supplied item or an entire range. Check the seller’s returns process and delivery terms before paying, particularly if compatibility remains uncertain. A low headline price has limited value when it refers to one piece rather than the illustrated set.
Separate a manufacturer specification from a seller’s performance claim. Phrases such as universal, professional or scratch-free are not a vehicle compatibility chart. The same evidence-first approach appears in our guide to researching a supplier or business: identify what can be checked and distinguish it from persuasive wording.
There is no single current price for levapioli tools. Country, tax, individual model and set contents affect the comparison. Historical catalogues can identify a product, but an old price list is not a live quotation. Our editorial policy explains why current claims need appropriate evidence rather than a recent-looking page date.
Frequently Asked Questions
Is Levapioli a brand?
In the verified Beta catalogue, levapioli describes a type of removal tool. Beta is the manufacturer name. Use the model reference to identify the specific item rather than treating the descriptive term as a unique brand.
Does every levapioli tool remove every car clip?
No. Clip design, access and surrounding materials vary. Match the tool profile to the fastener and follow the vehicle’s repair procedure. A broad product category does not establish universal compatibility.
Is nylon always safer than metal?
No material guarantees an undamaged finish. Shape, contact position, trapped dirt and applied force also matter. Choose a suitable profile and stop if the panel deforms or the retaining mechanism is unclear.
What does 1479N/S5 refer to?
Beta identifies 1479N/S5 as a five-piece nylon trim pin removal kit. Check the exact listing and supplied contents before purchasing, because other nearby catalogue references identify different tools.
Can a screwdriver replace a dedicated removal tool?
Its shape may not support the fastener or surrounding surface appropriately. Use the specified method and a tool suited to the fitting. Do not assume that fitting a blade into the gap makes it an appropriate lever.
